


Vui lòng nhập lại email đăng ký,
chúng tôi sẽ gửi cho bạn một liên kết để thay đổi mật khẩu.
Right product size and model
Free Worldwide Shipping
Safe & Fast Shipping
Served Orver 1,500,000 Customers
24/7 Live Chat
Support payment by Paypal, Credit Card

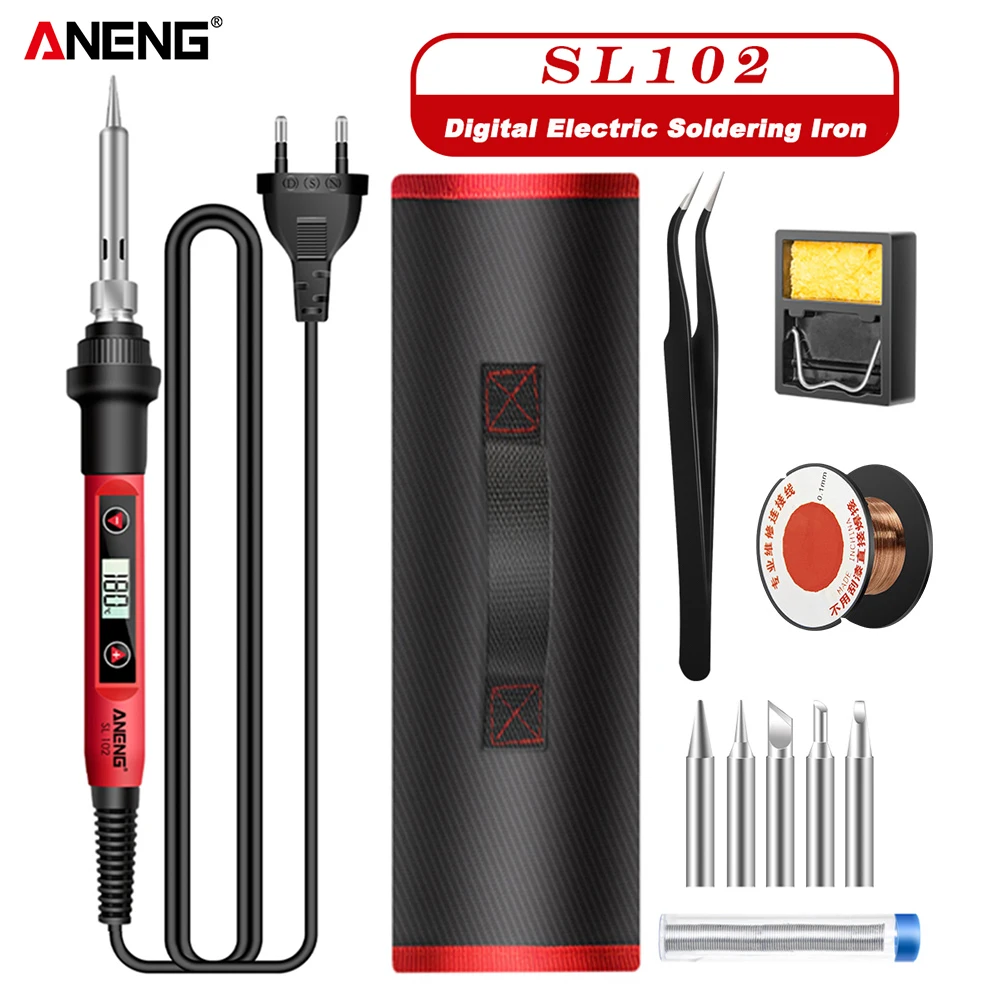


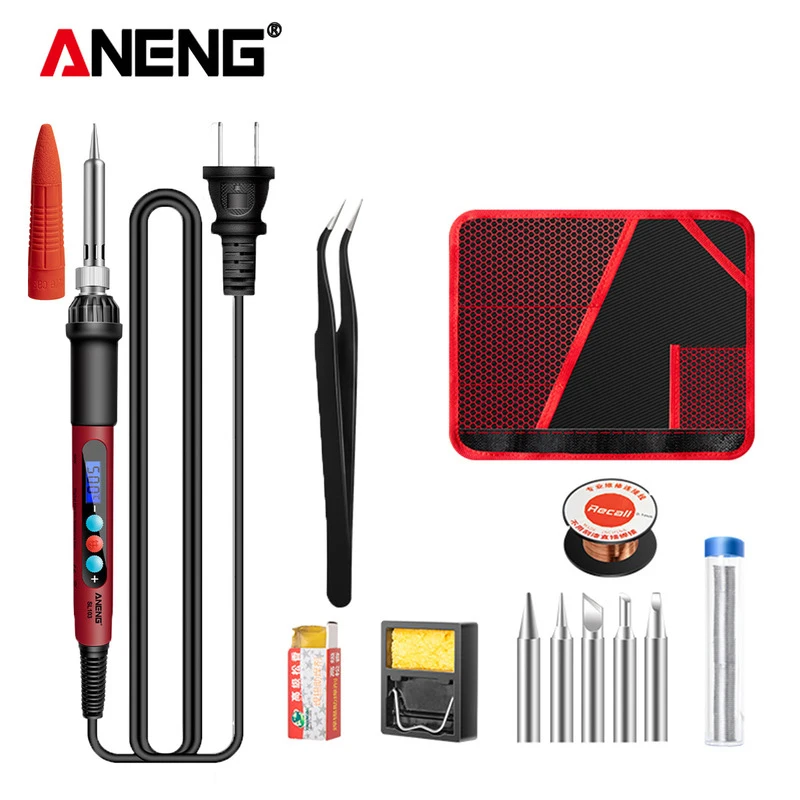

| Brand Name: | ANENG |
|---|---|
| Origin: | CN(Origin) |
| Certification: | NONE |
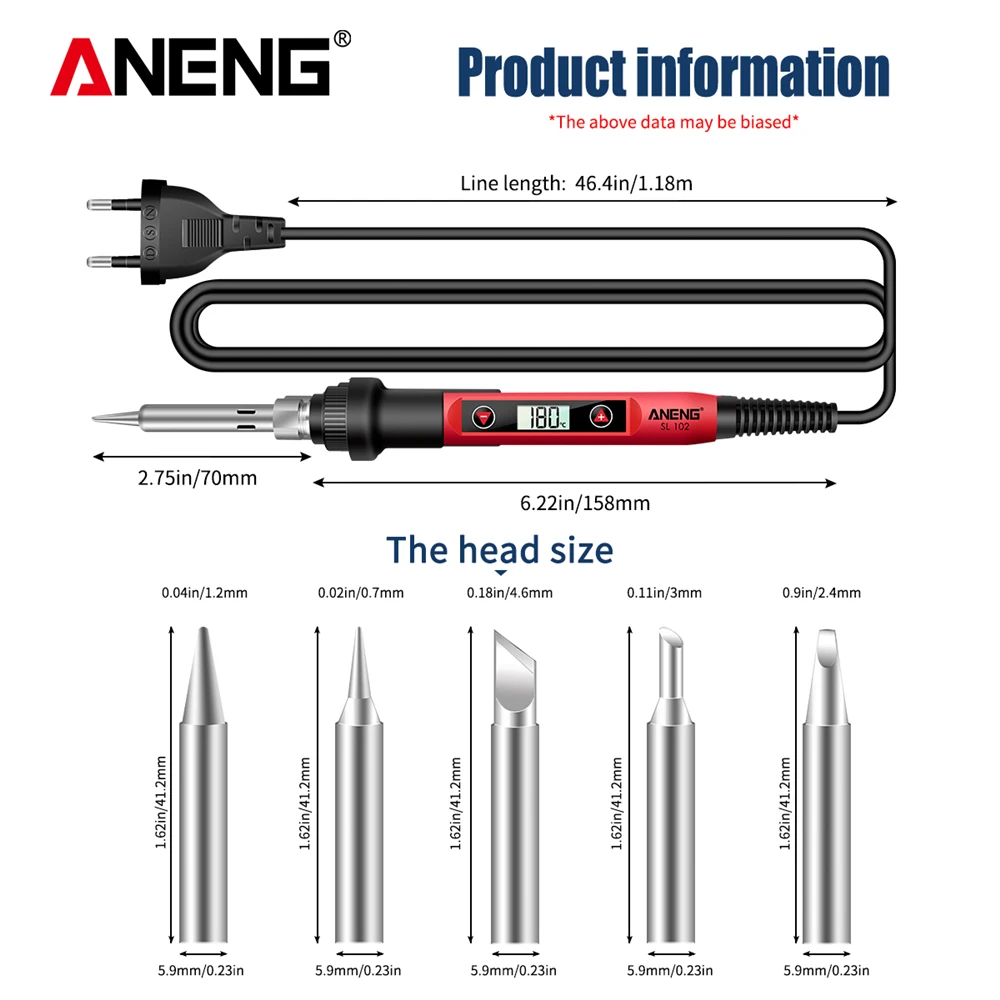
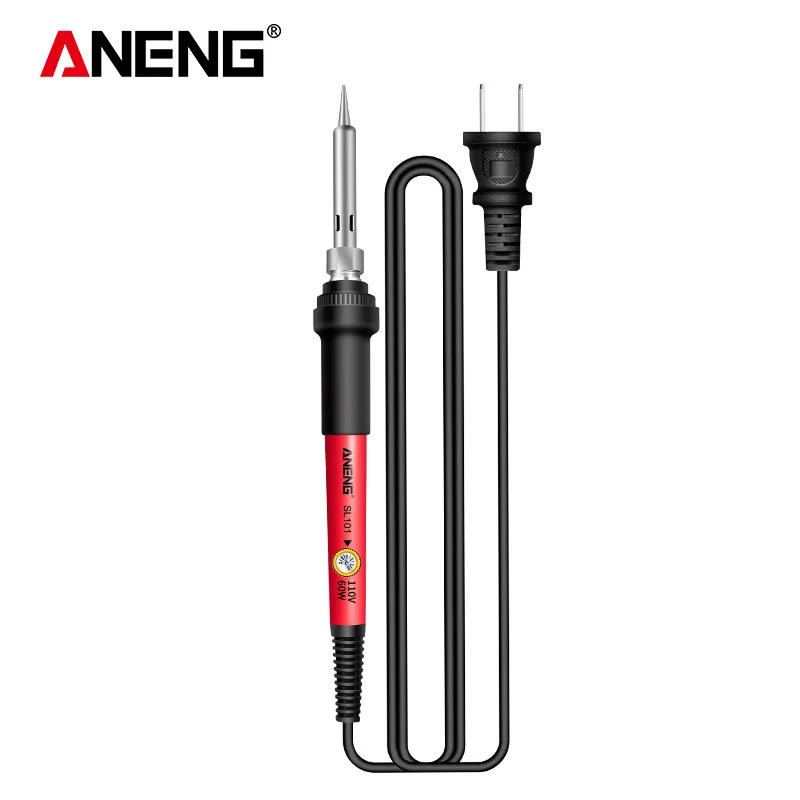
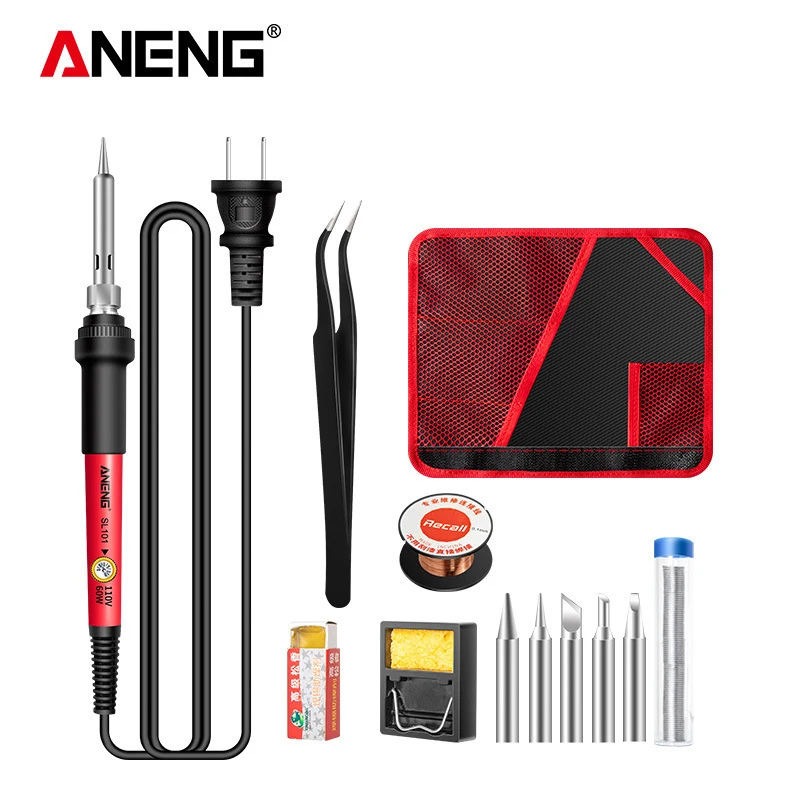
| Model Number: | SL101 /SL102/SL103 soldering iron |
| Is Smart Device: | No |
| Temperature Stability: | +-5 |
| Input Voltagle: | 110V/220V |
| Output Power: | 60W |
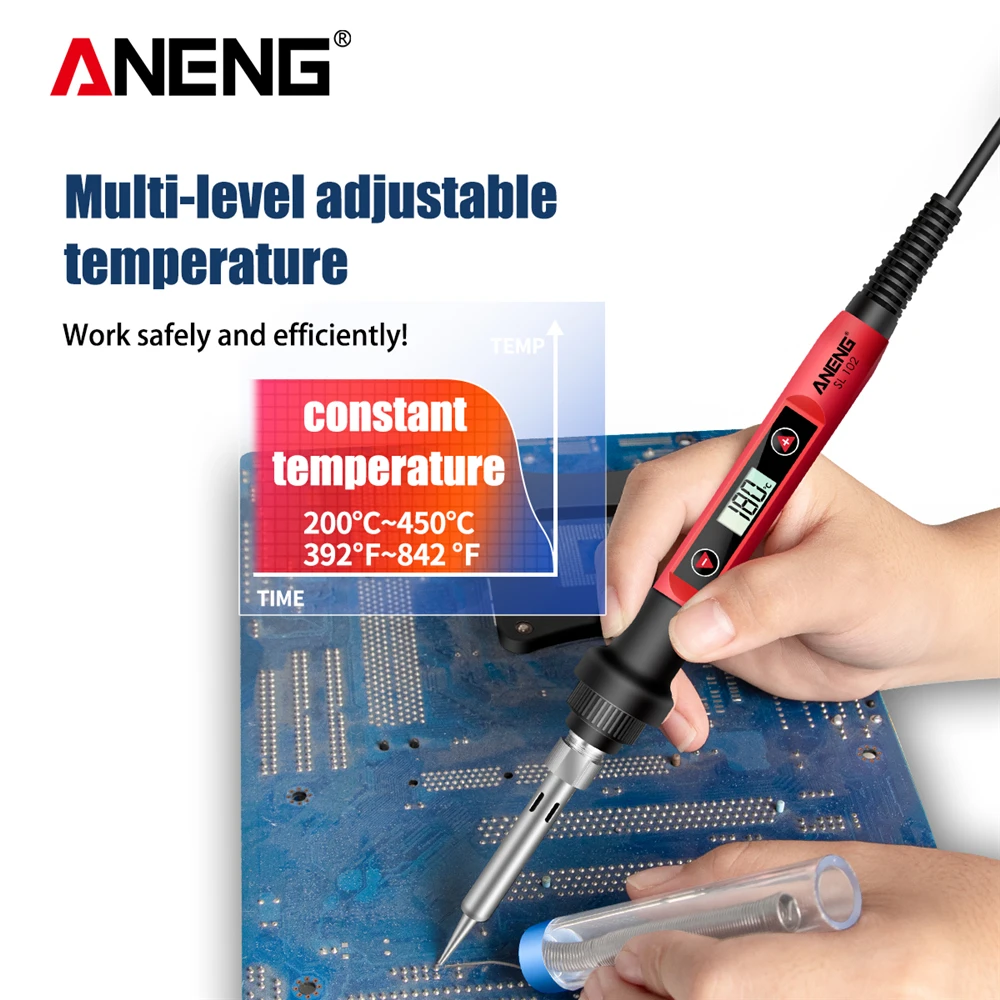
| Output Temperature: | 180 to 520 |
| Plug type: | US plug/EU plug |
Note:
1. Options SL101 and SL102 respectively represent different models.
2. The temperature range of SL101 is: 200°C-450°C;
The temperature range of SL102 is: 180°C-520°C.
3. There are differences in appearance between SL101 and SL102, please refer to the option box picture for details.
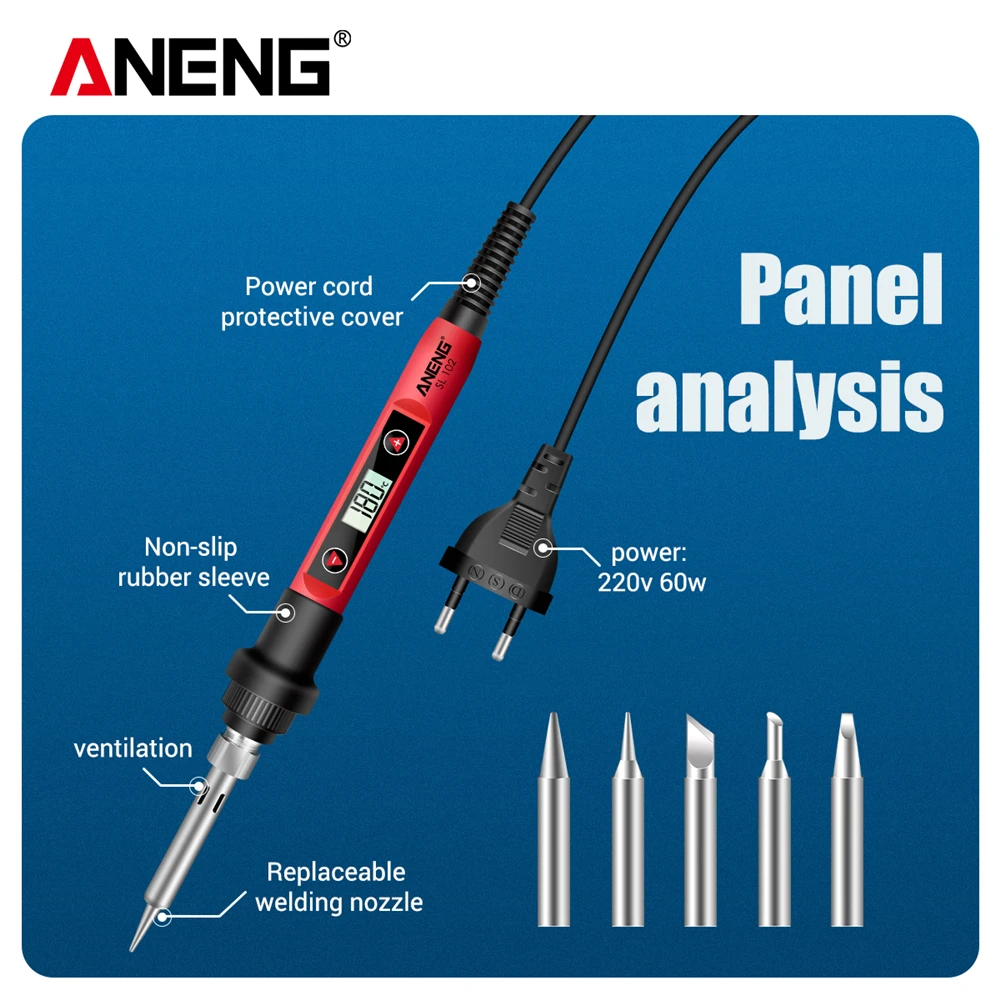
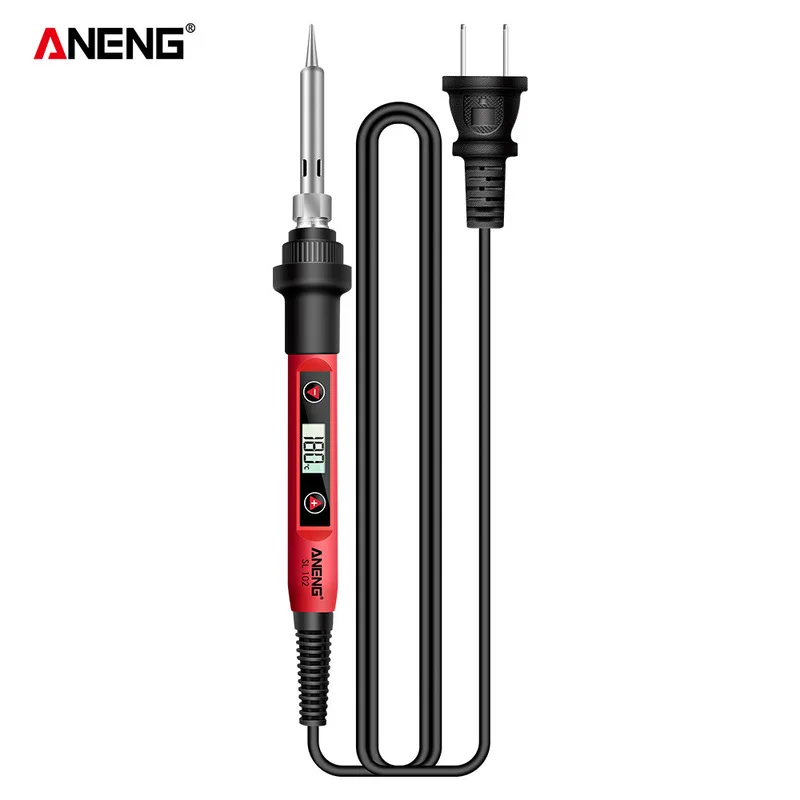
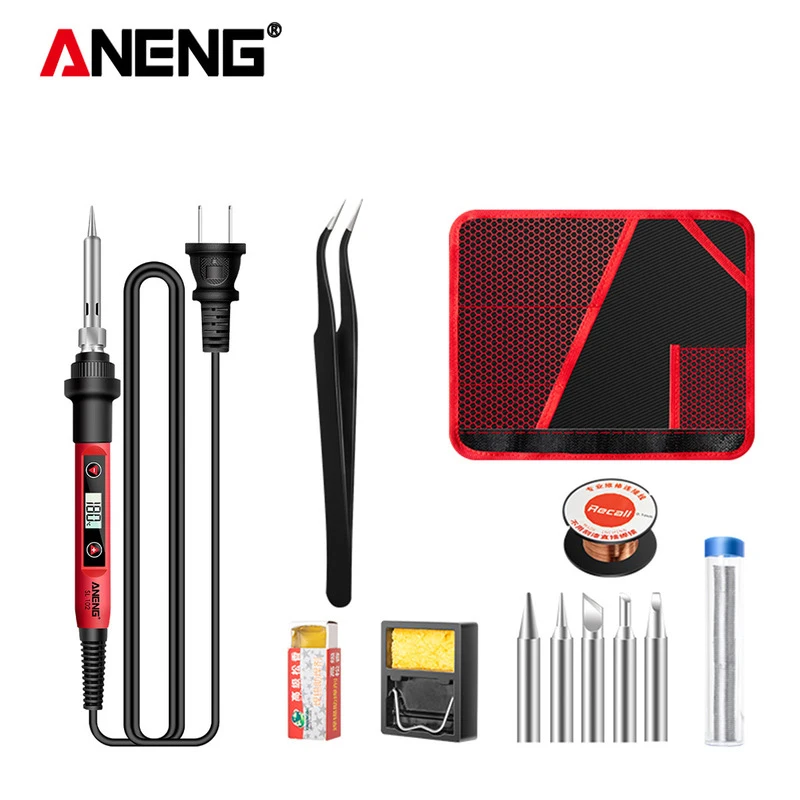
SL102:
Specifications(SL102):
1. Working voltage: AC240~200V 50HZ/AC110V 60HZ
2. Temperature range: 180~520℃, the error after calibration is less than +/-5℃
3. Use 900 series soldering iron tip, plug-in heating core
4. Tin time: 18~20s
5. Alarm: EAO heating element is open
6. Set temperature operation:
(1) Press the + button once to increase the temperature, and long press the + button to increase the temperature continuously.
(2) Press the - button to decrease the temperature, long press the - button to decrease the temperature continuously.
(3) When there is no button for 3 seconds, the newly set temperature will be memorized, and the temperature will be kept at the next startup.
(4) When the heating core reaches the set temperature, the temperature of the soldering iron tip can reach the set value after about 30~50s.
7. Calibration operation: (Generally choose 320 degree calibration.)
(1) Put the soldering iron tip on the thermometer after powering on for 90s, and add solder to the soldering iron tip to make the soldering iron tip and the thermocouple fully contact.
(2) Wait 2~4s after the thermometer shows that the temperature stabilizes, and record the temperature of the thermometer.
(3) Remove the soldering iron from the thermometer and press + and -at the same time to enter the temperature calibration interface.
(4) Input adjustment amount:
E.g:
Set the temperature to 290°C, and the actual measured temperature is 282°C, then press to display 08°C on the LCD,
Set the temperature to 290°C, and the measured temperature is 300°C, then press to display -10°C on the LCD.
(5) Press the + and - button at the same time to exit the temperature calibration interface.
8. C/F conversion:
Press the + and-keys at the same time when the power is not turned on. Do not release them at the same time. When the power is turned on, release the two keys when you see the LCD display. Then you will enter the setting menu. Press the + key to select C/F, and press the two keys at the same time to exit the setting. In the setting state, stop heating, and start heating after exiting.
SL103:
Specifications:
1. Working voltage: AC 110V~240V 60W
2. Temperature range: 180~500℃, the error after calibration is less than +/-5℃
3. Use 900 series soldering iron tip, plug-in heating core
4. Tin time: 18~20s
5. Alarm: EAO heating element is open
6. Set temperature operation:
(1) Press the + button once to increase the temperature, and long press the + button to increase the temperature continuously.
(2) Press the - button to decrease the temperature, long press the - button to decrease the temperature continuously.
(3) When there is no button for 3 seconds, the newly set temperature will be memorized, and the temperature will be kept at the next startup.
(4) When the heating core reaches the set temperature, the temperature of the soldering iron tip can reach the set value after about 30~50s.
7. Calibration operation: (Generally choose 320 degree calibration.)
(1) Put the soldering iron tip on the thermometer after powering on for 90s, and add solder to the soldering iron tip to make the soldering iron tip and the thermocouple fully contact.
(2) Wait 2~4s after the thermometer shows that the temperature stabilizes, and record the temperature of the thermometer.
(3) Remove the soldering iron from the thermometer and press + and -at the same time to enter the temperature calibration interface.
(4) Input adjustment amount:
E.g:
Set the temperature to 290°C, and the actual measured temperature is 282°C, then press to display 08°C on the LCD,
Set the temperature to 290°C, and the measured temperature is 300°C, then press to display -10°C on the LCD.
(5) Press the + and - button at the same time to exit the temperature calibration interface.
8. Press # button once to switch C/F.
Specifications(SL102):
1. Working voltage: AC240~200V 50HZ/AC110V 60HZ
2. Temperature range: 180~520℃, the error after calibration is less than +/-5℃
3. Use 900 series soldering iron tip, plug-in heating core
4. Tin time: 18~20s
5. Alarm: EAO heating element is open
6. Set temperature operation:
(1) Press the + button once to increase the temperature, and long press the + button to increase the temperature continuously.
(2) Press the - button to decrease the temperature, long press the - button to decrease the temperature continuously.
(3) When there is no button for 3 seconds, the newly set temperature will be memorized, and the temperature will be kept at the next startup.
(4) When the heating core reaches the set temperature, the temperature of the soldering iron tip can reach the set value after about 30~50s.
7. Calibration operation: (Generally choose 320 degree calibration.)
(1) Put the soldering iron tip on the thermometer after powering on for 90s, and add solder to the soldering iron tip to make the soldering iron tip and the thermocouple fully contact.
(2) Wait 2~4s after the thermometer shows that the temperature stabilizes, and record the temperature of the thermometer.
(3) Remove the soldering iron from the thermometer and press + and -at the same time to enter the temperature calibration interface.
(4) Input adjustment amount:
E.g:
Set the temperature to 290°C, and the actual measured temperature is 282°C, then press to display 08°C on the LCD,
Set the temperature to 290°C, and the measured temperature is 300°C, then press to display -10°C on the LCD.
(5) Press the + and - button at the same time to exit the temperature calibration interface.
8. C/F conversion:
Press the + and-keys at the same time when the power is not turned on. Do not release them at the same time. When the power is turned on, release the two keys when you see the LCD display. Then you will enter the setting menu. Press the + key to select C/F, and press the two keys at the same time to exit the setting. In the setting state, stop heating, and start heating after exiting.
SL102:
SL103:


DELIVERY ESTIMATE
We processes orders between Monday and Friday. Orders will be processed within 5 business days of ordering and shipped the next day after the processing day. Please note that we don't ship on weekends.
We deliver your orders in 15-20 working days (free shipping), International orders delivery is subjected to the policy of third party courier service, and differs from country to country basis.
Due to the Covid-19 pandemic, you may experience delivery delays but we are committed to getting your order to you as soon as possible.
Note: Please ensure all delivery information is correct. If there is incorrect and/or missing information, we may be required to contact you to update the delivery information, which may cause delays in delivering your order. Delays may also occur as a result of customs clearance.
RETURN POLICY
At MMO-Dropship we strive to make our customers 100% satisfied with the product they’ve purchased from us. If you are experiencing any shipping or products issues, and you’re feeling frustrated, then please send us an email and our team will assist you right away.
We have a 7-day return policy, which means you have 7 days after receiving your item to request a return.
To be eligible for a return, your item must be in the same condition that you received it, unworn or unused, with tags, and in its original packaging. You’ll also need the receipt or proof of purchase.
To start a return, you can contact us at [email protected]. If your return is accepted, we’ll send you a return shipping label, as well as instructions on how and where to send your package. Items sent back to us without first requesting a return will not be accepted.
You can always contact us for any return question at [email protected].
DAMAGED ITEM AND LOW QUALITY
For the fastest resolution, please include a photograph demonstrating the poor quality or the damaged area of the item. The most optimal pictures are on a flat surface, with the tag and error clearly displayed.
We will use this information to help you with your order, and eliminate errors in future.
REFUND POLICY
If you feel the product that you’ve purchased does not show the requirements that you initially had in mind, then you do have the option to request a refund.
Here are the circumstances in which refunds will be granted:
You can get a refund if:
Please note that refunds can take 3-5 business days to return in your account.
You can always contact us for any return question at [email protected].

(+84) 966.889.186