Vui lòng nhập lại email đăng ký,
chúng tôi sẽ gửi cho bạn một liên kết để thay đổi mật khẩu.

| Brand Name: | SinoTrack |
|---|---|
| Origin: | CN(Origin) |
| Material Type: | ABS |
| External Testing Certification: | CC |
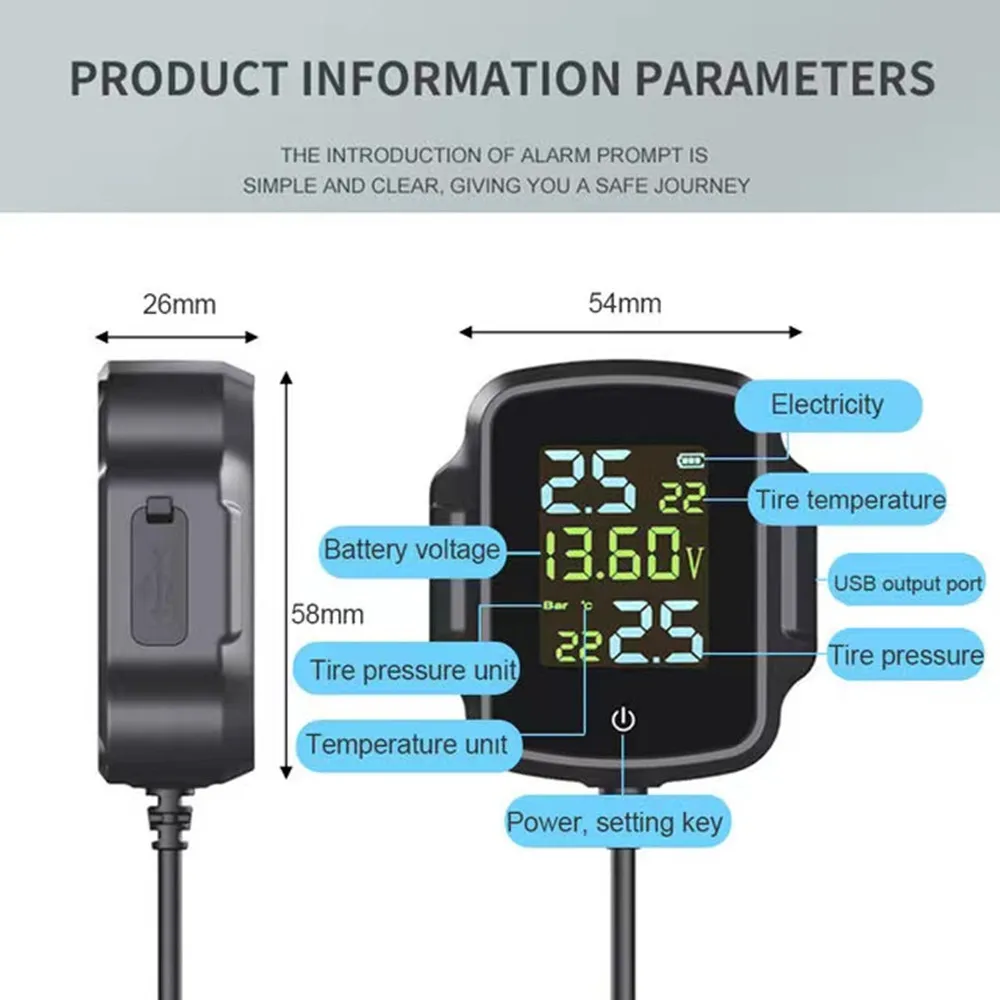
| Item Length: | 58mm |
| Special Features: | Motorcycle TPMS With QC 3.0 Fast Charging USB Output |
| Item Width: | 54mm |
| Model Name: | AN08A |
| Item Height: | 26mm |
| Voltage: | 5V |
| Item Type: | Alarm Systems & Security |
| Item Weight: | 0.2kg |
| Certification: | CE |
| Feature 1: | Motorcycle Tire Pressure |
| Feature 2: | TPMS sensor |
| Feature 3: | Tire Pressure Monitoring System |
| Feature 4: | Tire Pressure Sensor |
| Feature 5: | TPMS |
| Feature 6: | With QC 3.0 Fast Charging |
| Feature 7: | Tire Pressure Gauge |
| Feature 8: | Motorcycle TPMS |
Description:
Feature:
Specification:
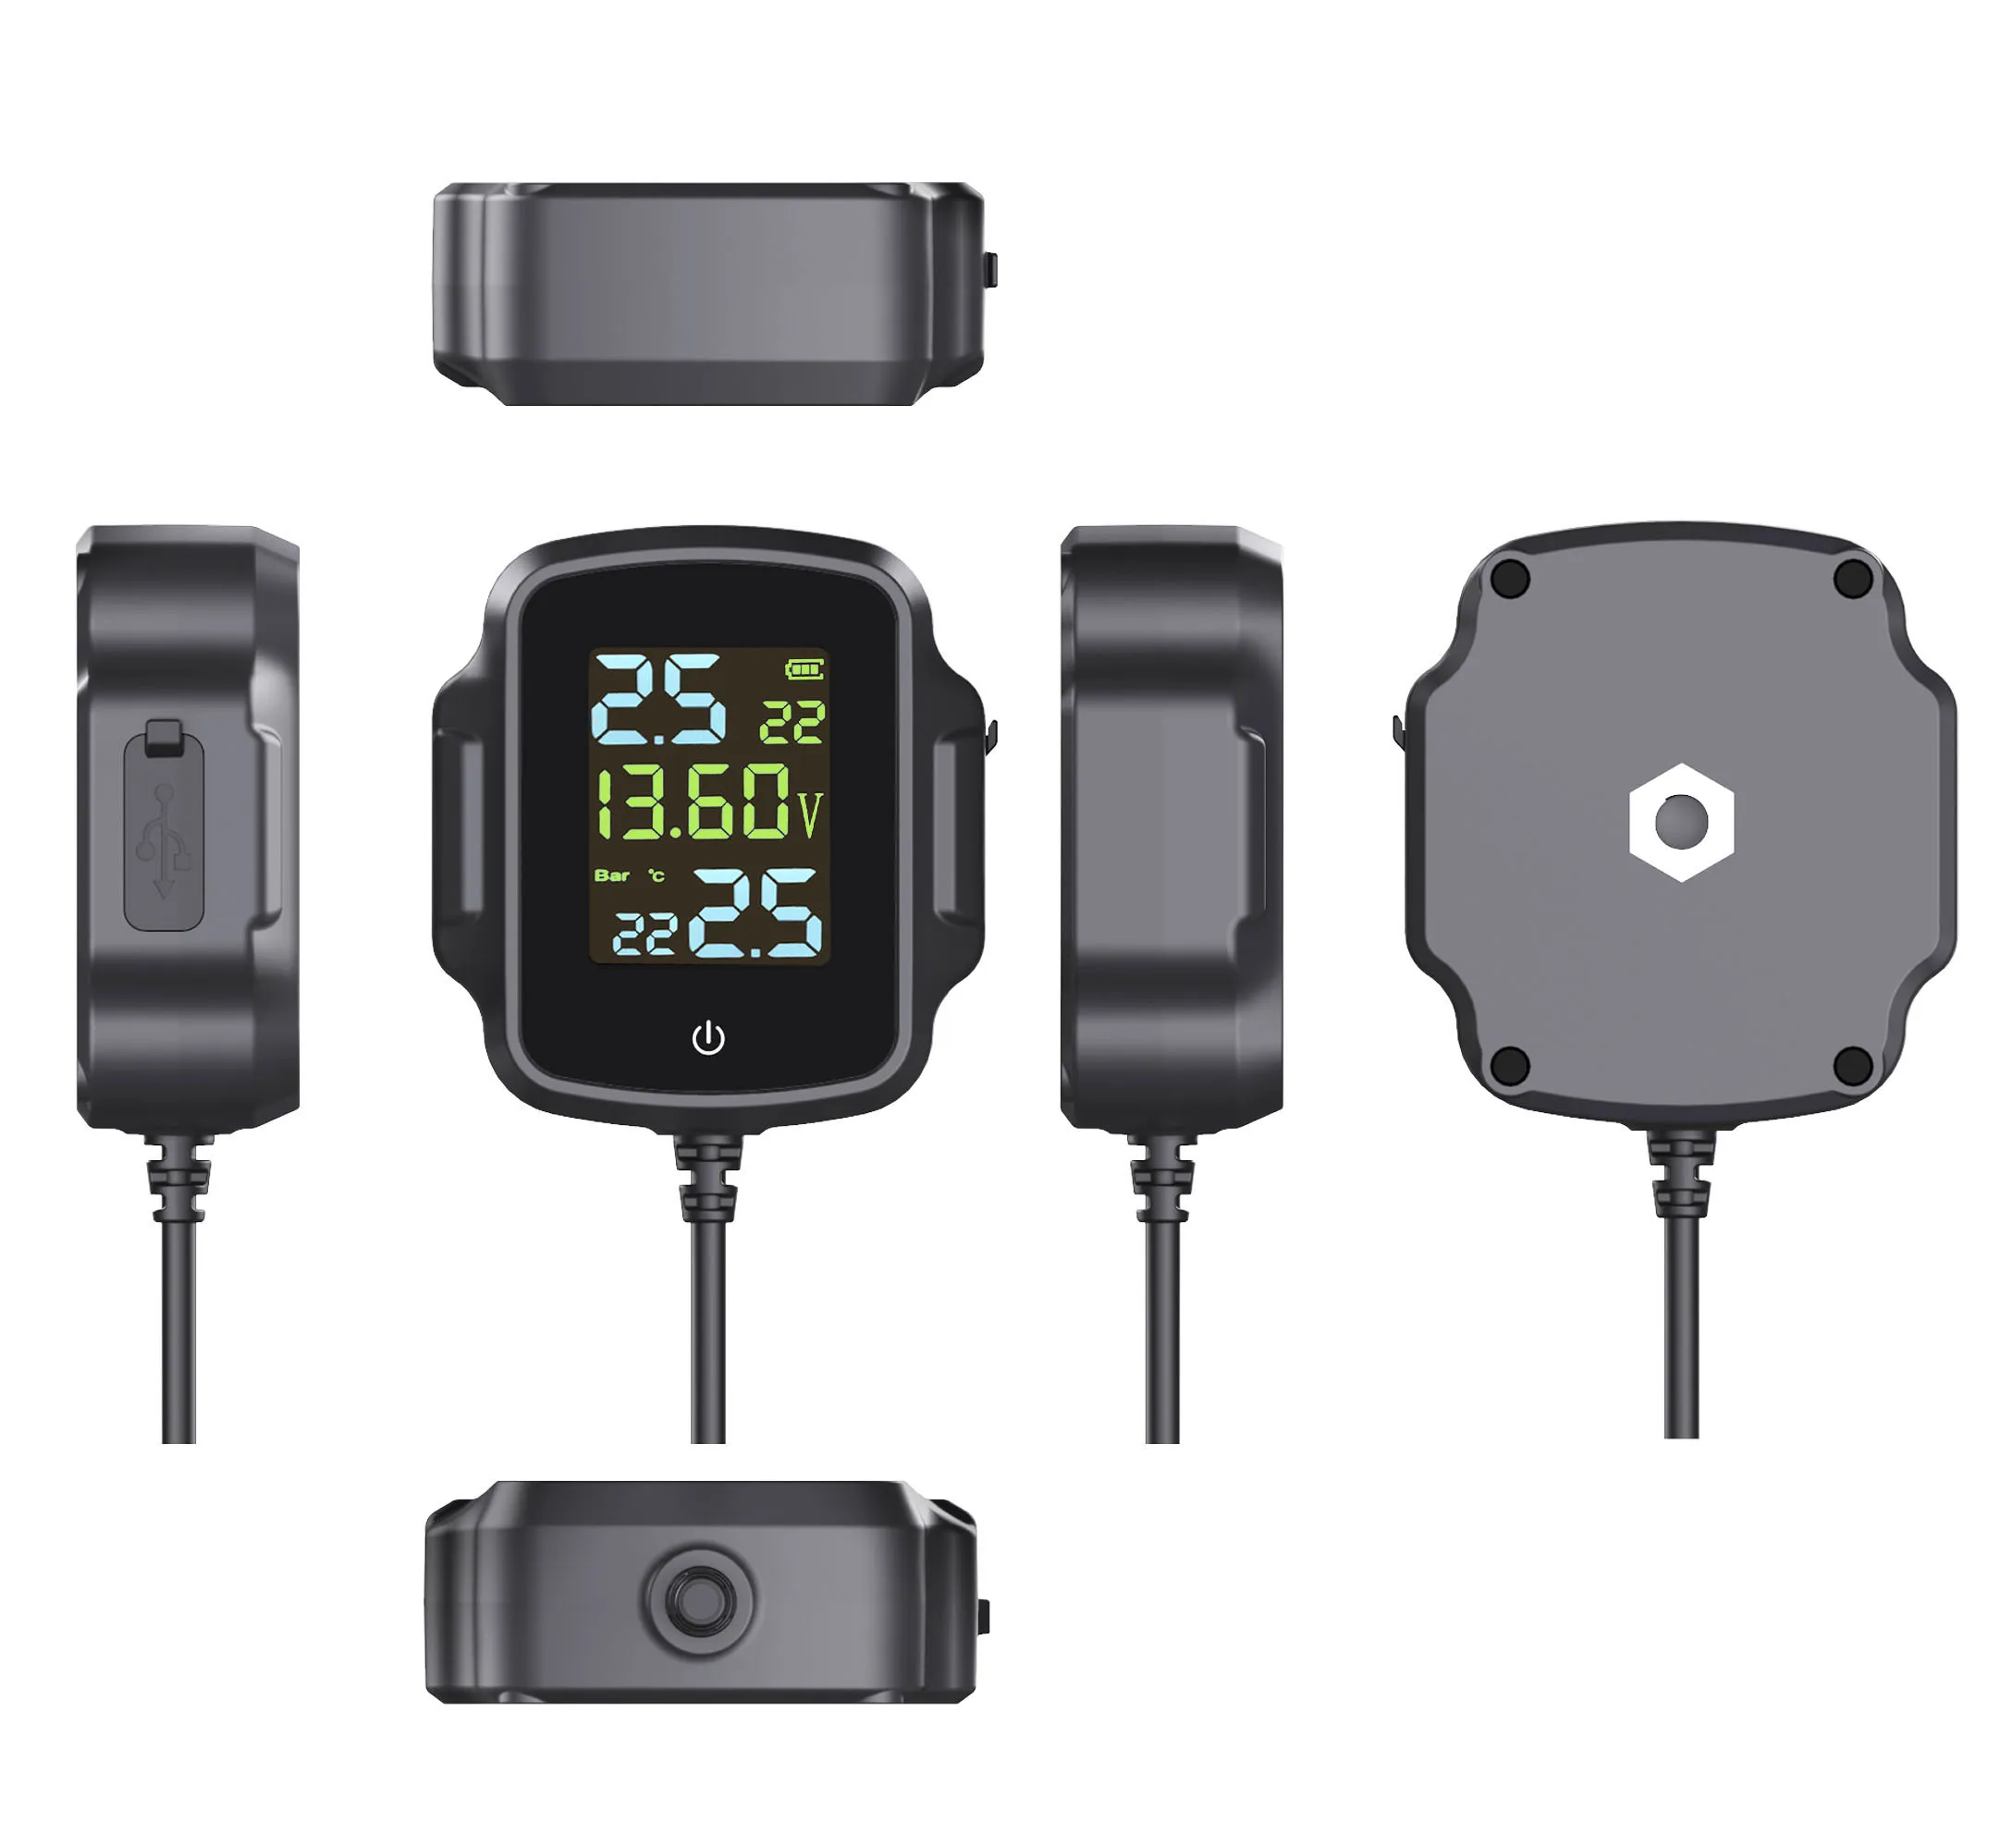
Receiver:
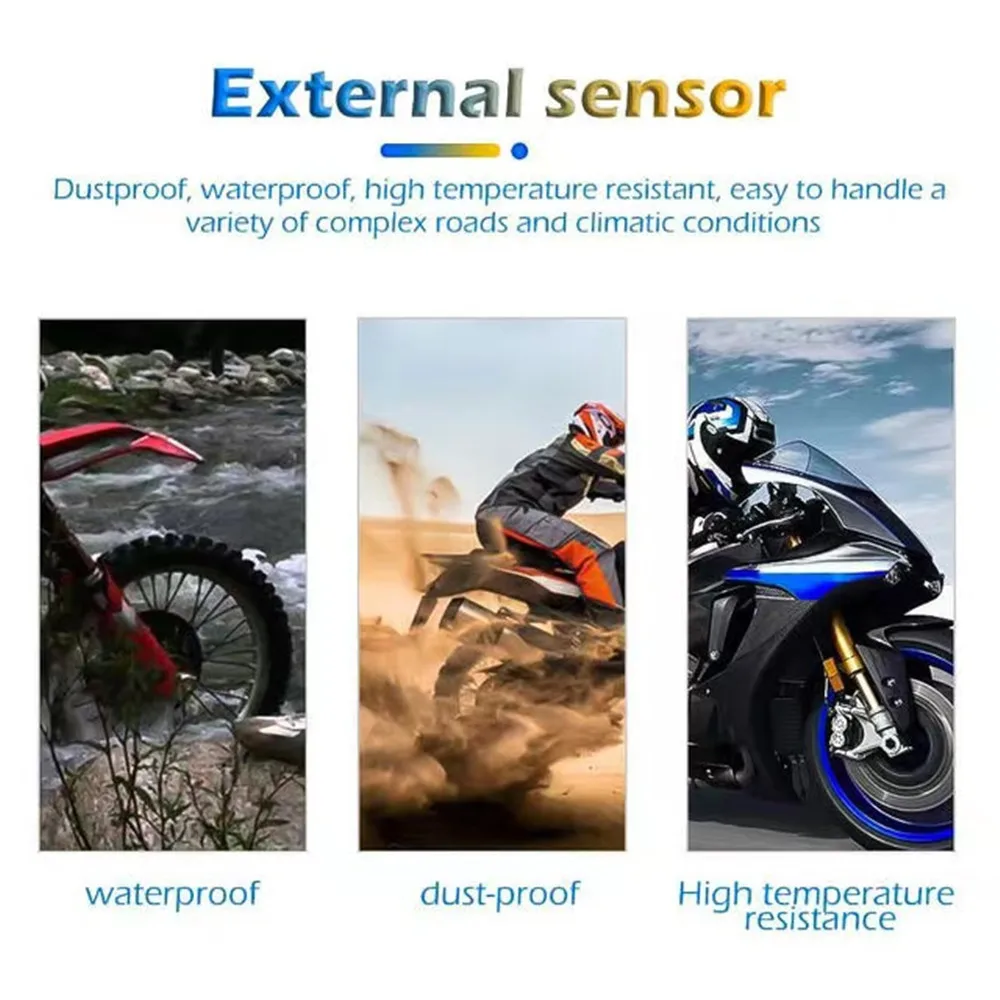
Sensor:
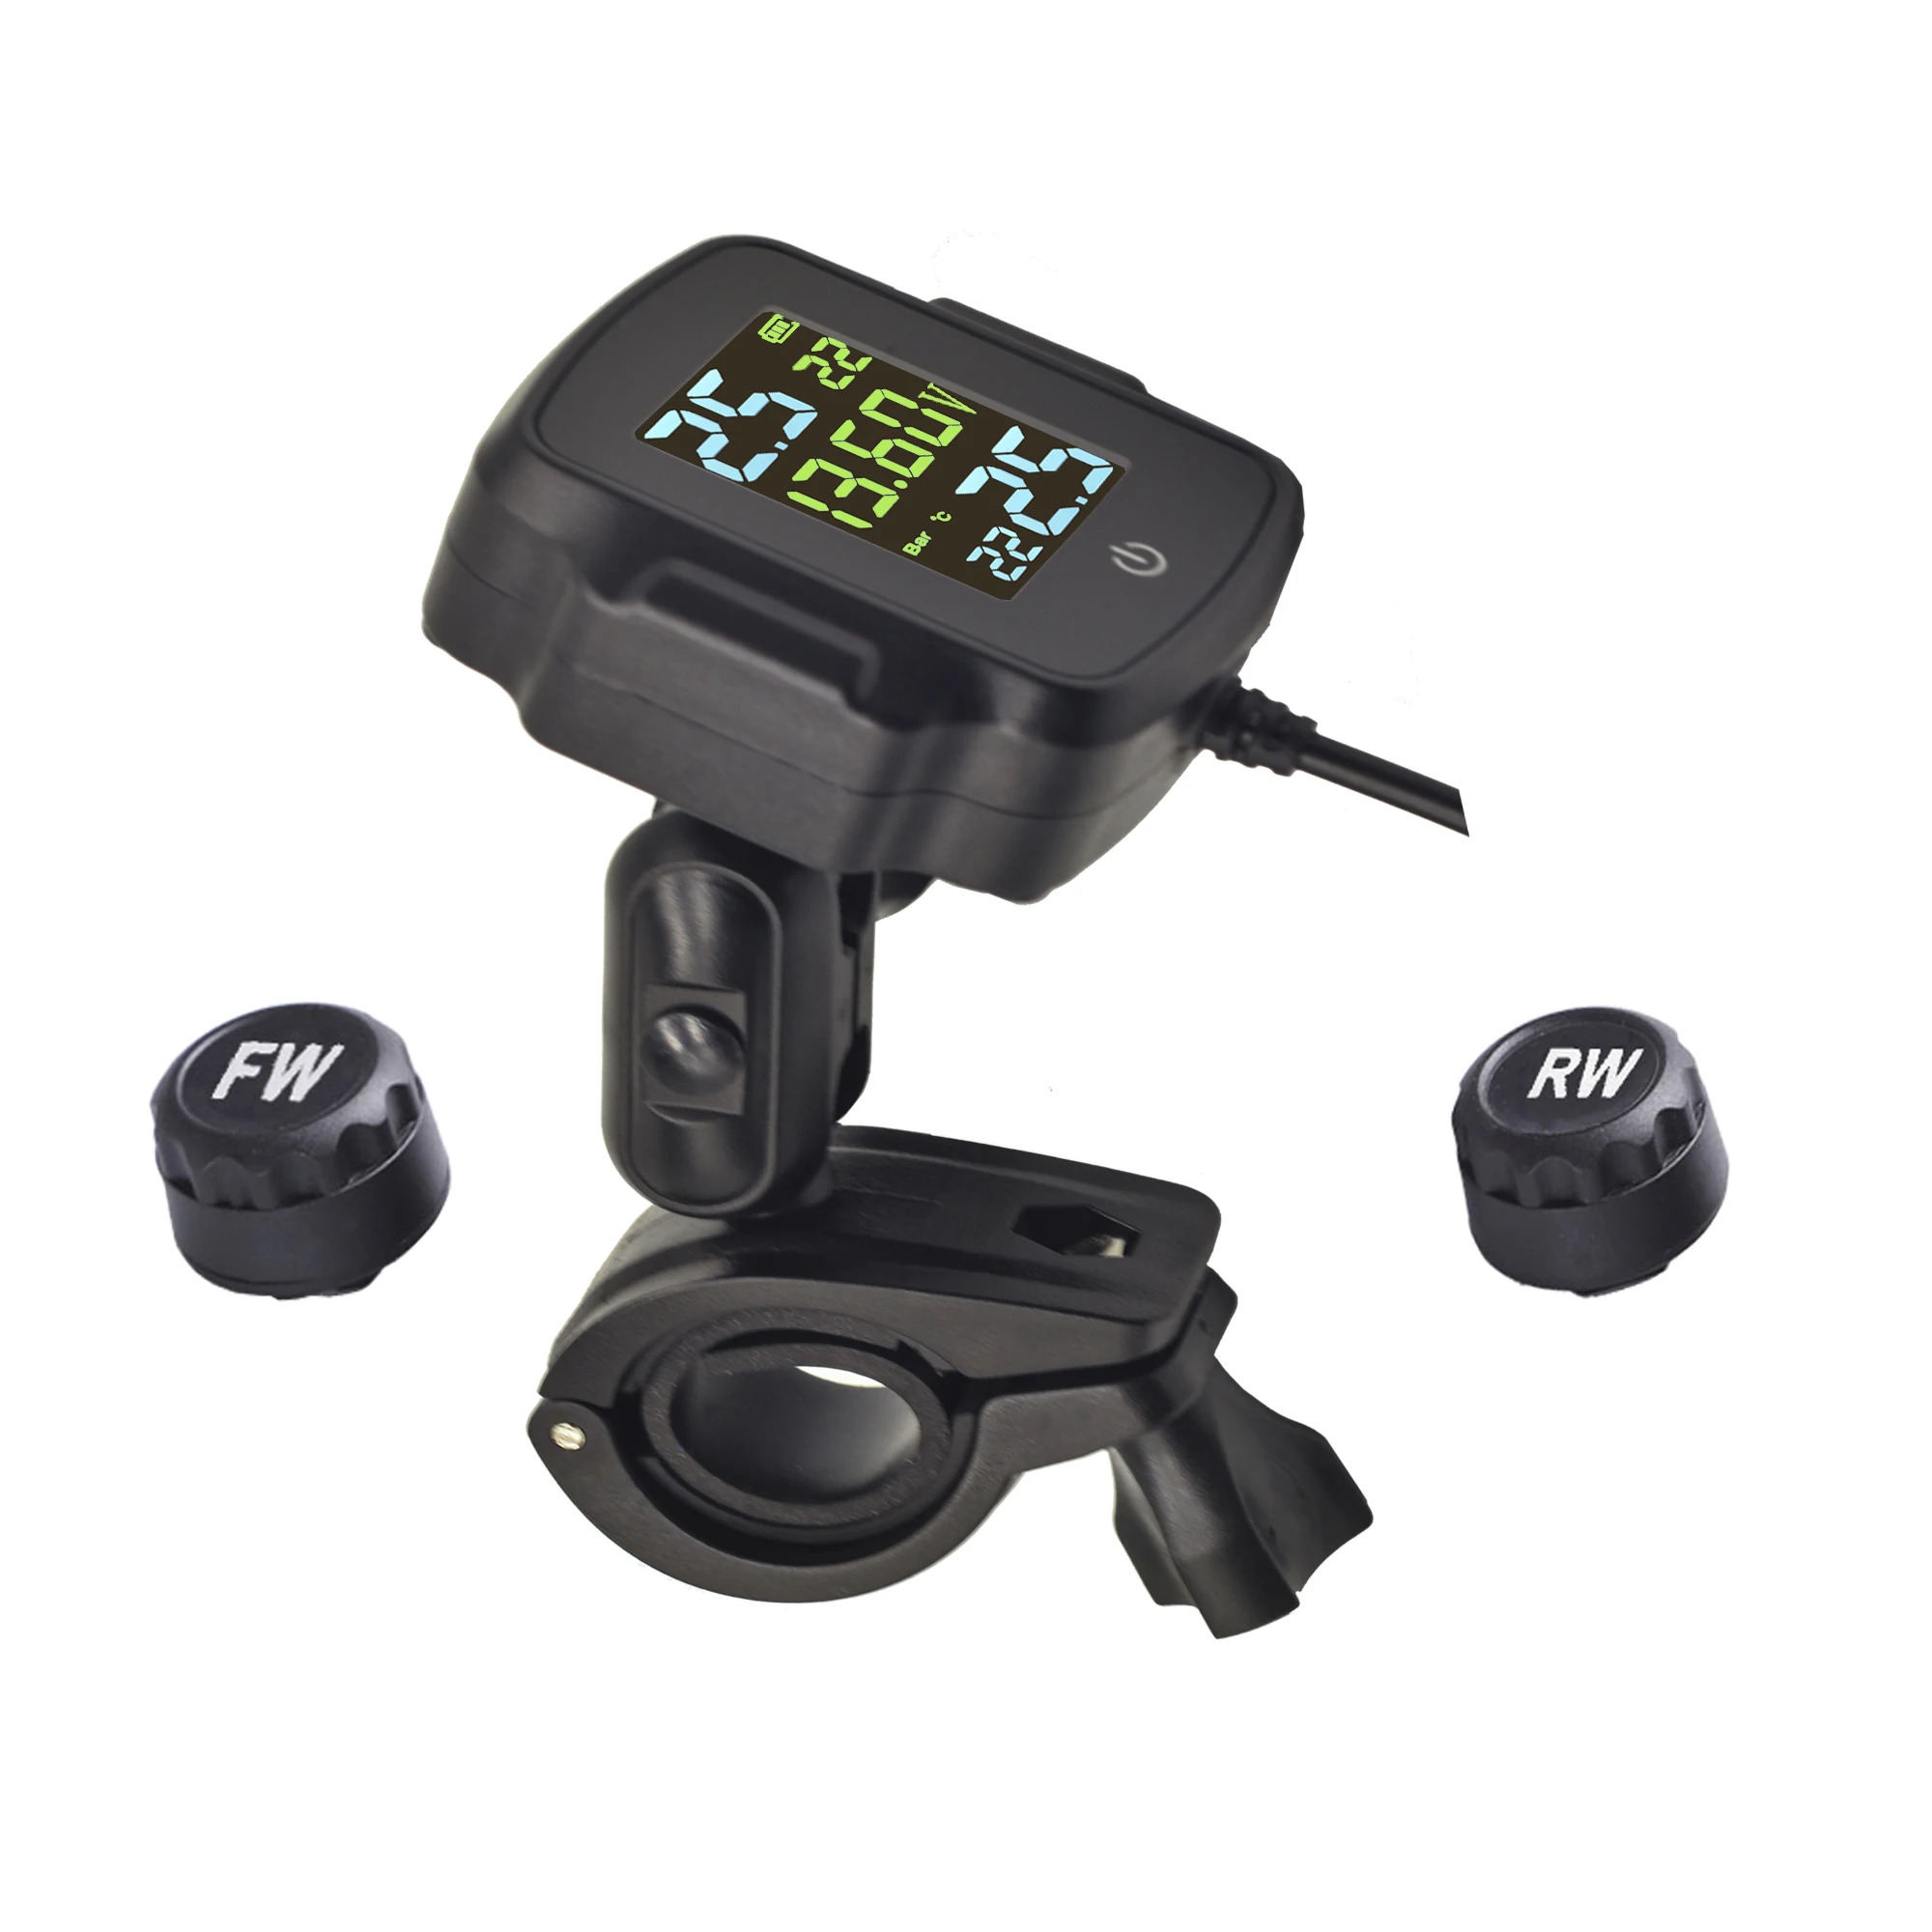
Bracket installation instructions
1. Unscrew the 2 screws, put on the motorcycle/electric bike/bicycle and tighten;
2. Place the mounting head of the bracket toward the position you need, and confirm that the bracket is firm;
3. Install the tire pressure receiver on the bracket, tighten it and then lock it; use the ball head to rotate the tuning knob to move the joint part to adjust the appropriate angle appropriately
Power installation instructions
1. When installing, the power cord needs to be connected behind the ignition switch, and the power can be automatically cut off after shutting down. The red connects to the 12V positive pole and the black connects to the ground.
2. Install the fixed bracket on the handlebar and lock it tightly. Install the host on the bracket and adjust the angle and lock it.
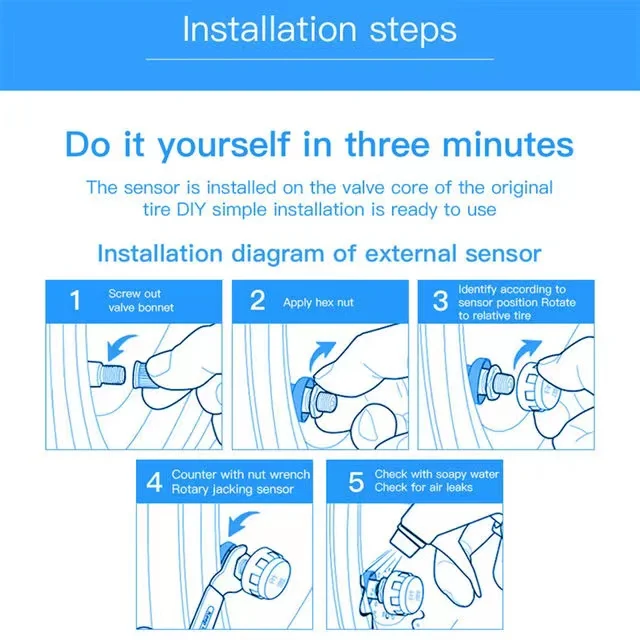
3. Install the sensor when the host is turned on. First install the tamper ring into the valve nozzle, then install the sensor on the valve according to the position and tighten it, then screw the tamper ring back and tighten it. If you find that there is no corresponding position on the host If the pressure is displayed, reinstall the sensor at the corresponding position.
Sensor battery replacement instructions:
When replacing the battery of the sensor, please disassemble one by one, install the shell, do not mix or disassemble and install at the same time; it can effectively prevent the sensor from being misplaced and installed on other tires due to the wrong shell. (Button CR1632, working temperature is -30℃~+80℃); it is available in stores.
1. Before disassembling the sensor, please prepare a nut wrench, turn the nut clockwise to separate the nut and the sensor, and then remove the sensor counterclockwise;
2. Use a wrench to unscrew the upper cover of the sensor in a counterclockwise direction;
3. Take out the old battery from the battery clip and do a good job of environmental protection classification;
4. Distinguish the positive and negative positions (positive ''+'' facing up); install a new button battery CR1632.
5. Screw on the upper cover of the sensor, and then tighten it clockwise with a wrench
Note:
There may be slight size deviations due to manual measurement, different measuring methods and tools.
The picture may not reflect the actual color of the item because of different photographing light, angle and display monitor.
Packages:
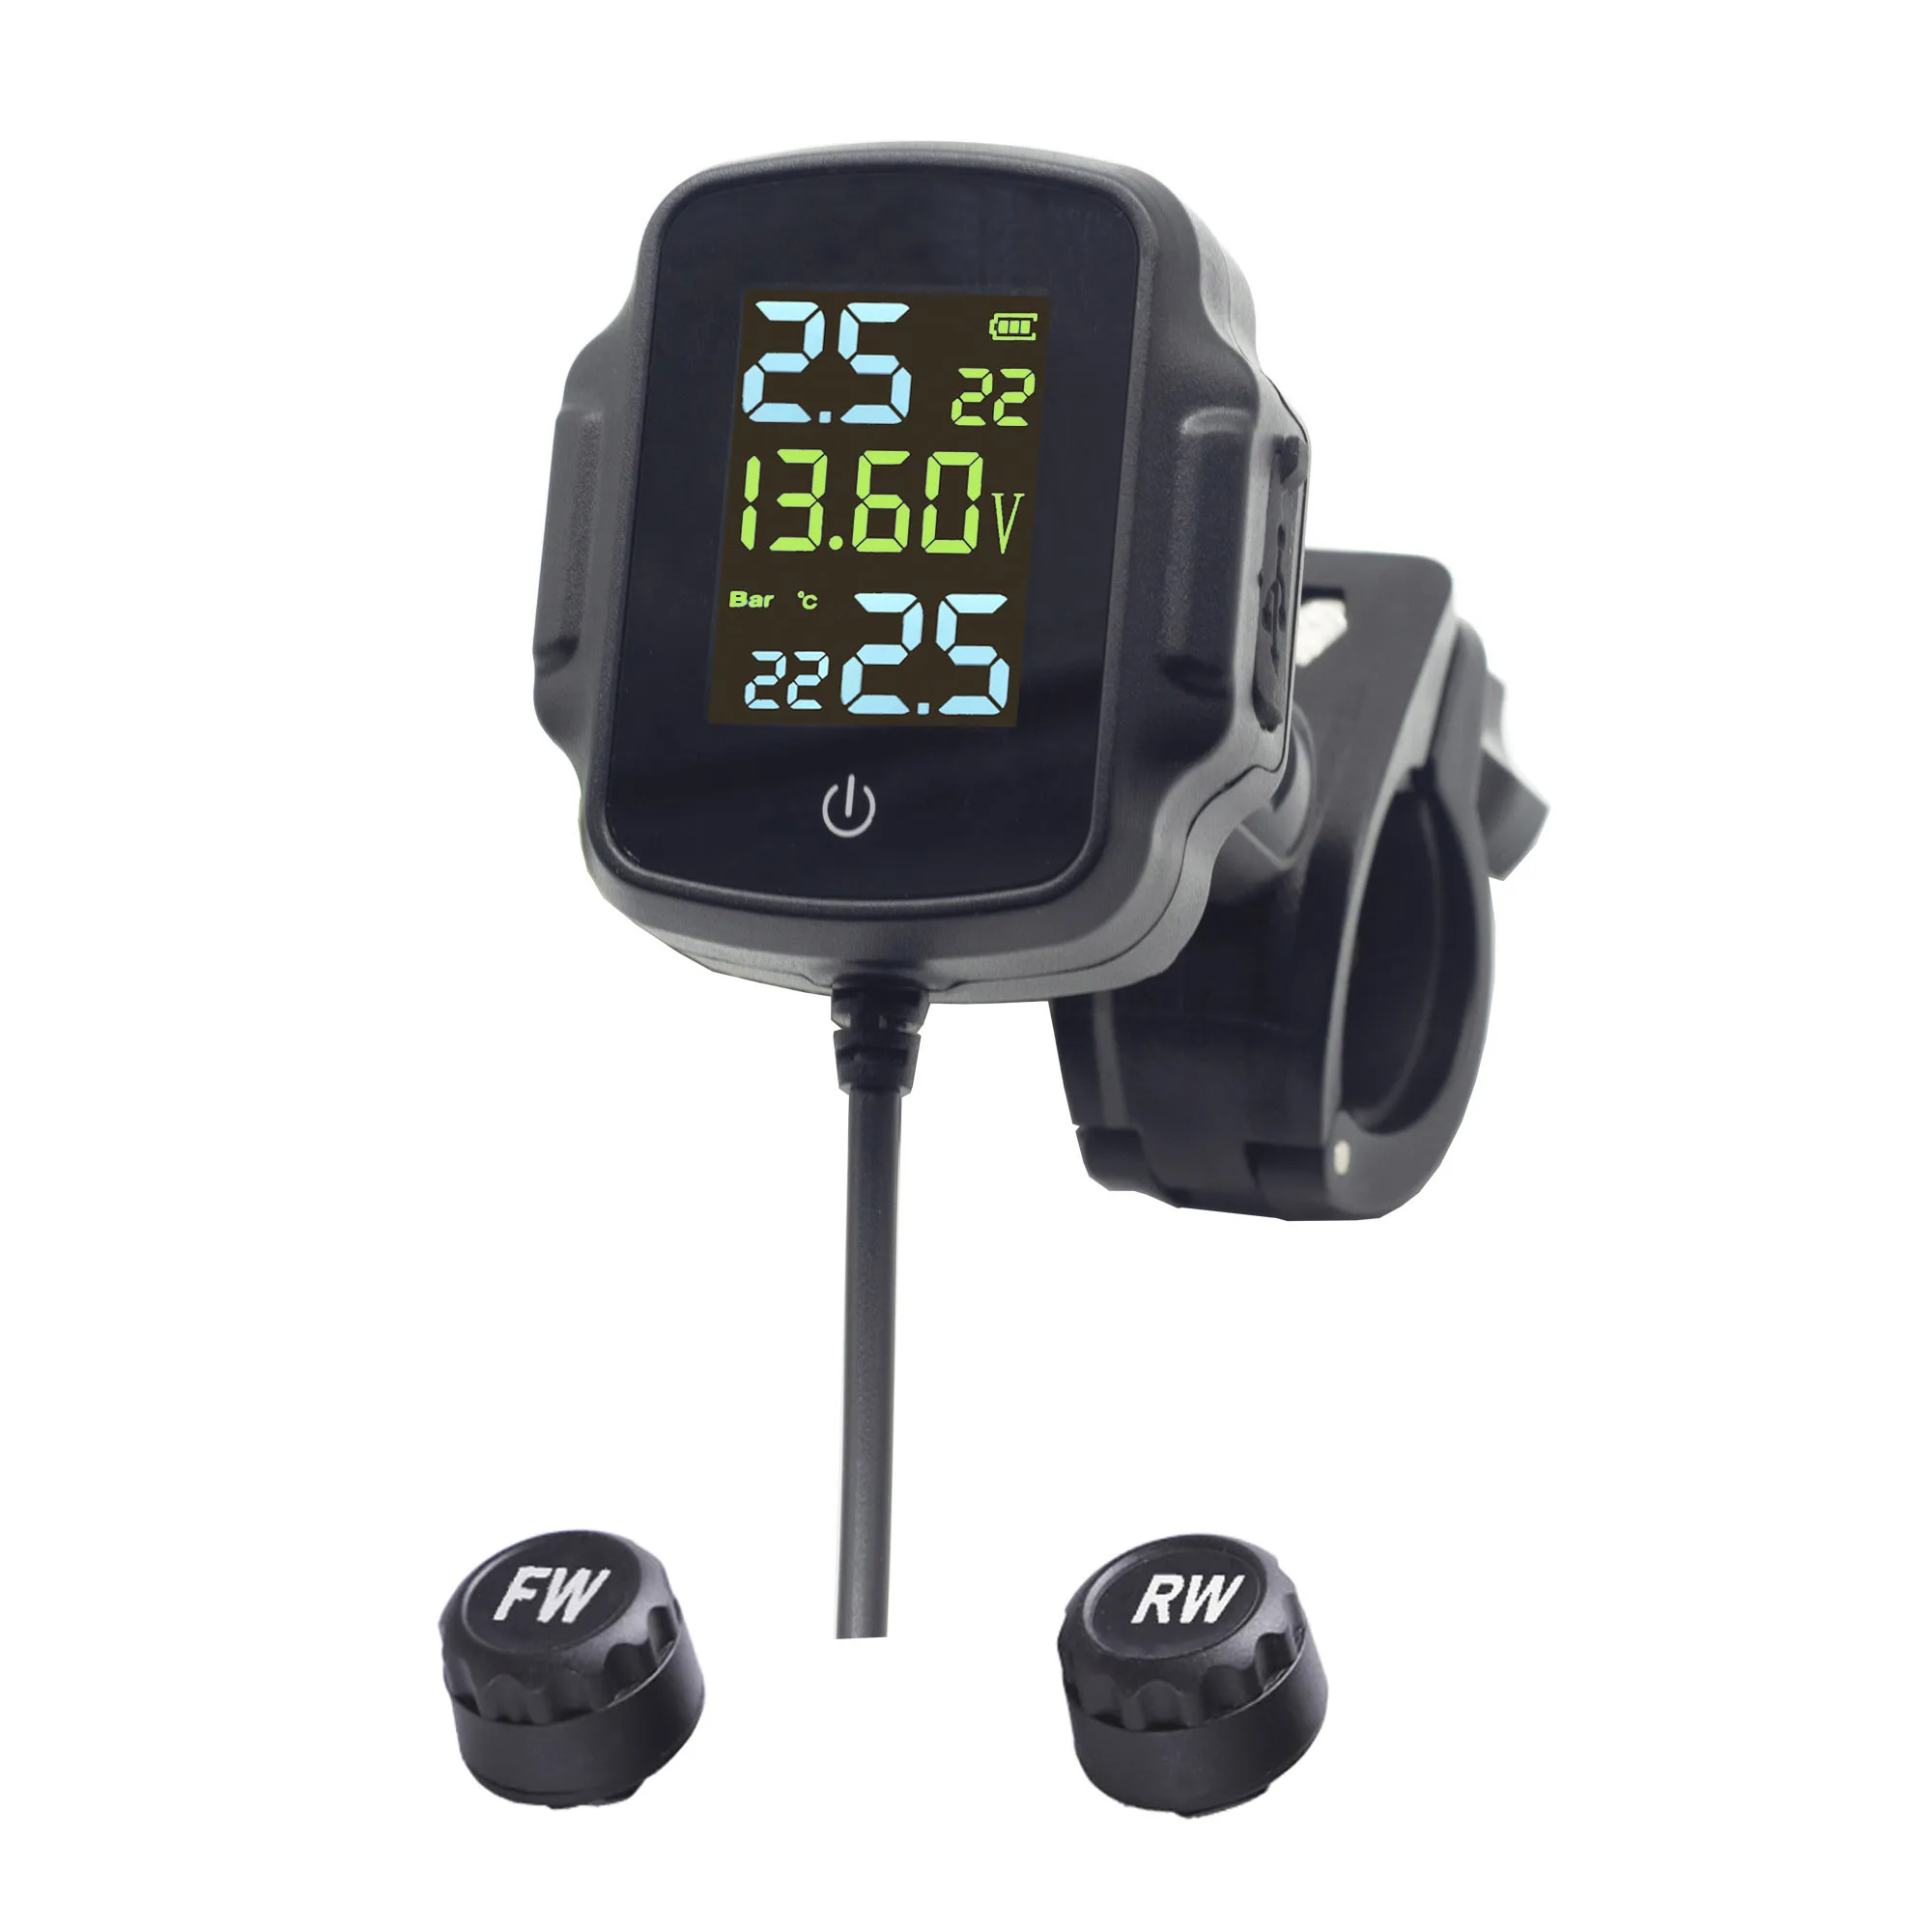
1 X Receiver
2 X Sensors
1 X Bracket
1 Set Install Accessories




DELIVERY ESTIMATE
We processes orders between Monday and Friday. Orders will be processed within 5 business days of ordering and shipped the next day after the processing day. Please note that we don't ship on weekends.
We deliver your orders in 15-20 working days (free shipping), International orders delivery is subjected to the policy of third party courier service, and differs from country to country basis.
Due to the Covid-19 pandemic, you may experience delivery delays but we are committed to getting your order to you as soon as possible.
Note: Please ensure all delivery information is correct. If there is incorrect and/or missing information, we may be required to contact you to update the delivery information, which may cause delays in delivering your order. Delays may also occur as a result of customs clearance.
RETURN POLICY
At MMO-Dropship we strive to make our customers 100% satisfied with the product they’ve purchased from us. If you are experiencing any shipping or products issues, and you’re feeling frustrated, then please send us an email and our team will assist you right away.
We have a 7-day return policy, which means you have 7 days after receiving your item to request a return.
To be eligible for a return, your item must be in the same condition that you received it, unworn or unused, with tags, and in its original packaging. You’ll also need the receipt or proof of purchase.
To start a return, you can contact us at [email protected]. If your return is accepted, we’ll send you a return shipping label, as well as instructions on how and where to send your package. Items sent back to us without first requesting a return will not be accepted.
You can always contact us for any return question at [email protected].
DAMAGED ITEM AND LOW QUALITY
For the fastest resolution, please include a photograph demonstrating the poor quality or the damaged area of the item. The most optimal pictures are on a flat surface, with the tag and error clearly displayed.
We will use this information to help you with your order, and eliminate errors in future.
REFUND POLICY
If you feel the product that you’ve purchased does not show the requirements that you initially had in mind, then you do have the option to request a refund.
Here are the circumstances in which refunds will be granted:
You can get a refund if:
Please note that refunds can take 3-5 business days to return in your account.
You can always contact us for any return question at [email protected].